2003 Gold 350Z Heavy Clear Coat Correction with some extra surprises
heres a few pics of the car after 3 washes, 3 times clay barring & all prep tapping finished. this car is ready to be sectioned off for a handfull of 50/50 shots. ill try to let the pics do the talking to save some time typing every little step up. the pics will take you from start to finish. i hope you all enjoy reading the writeup when im finished with the car. this will be a big one & it has to be done by monday to make room for another big correction job. on Monday i have another 2 dr black g35 that the customer said has bad swirls & hasnt been detailed in 2 years, he thinks. on wed i have a white c63 amg coming in for a medium correction job.
i try to concentrate on the big jobs that require a lot of heavy machine work since neither of my 2 guys know how to buff & i dont plan to teach them either. my job is to book them as much work as they can handle to keep the shop as busy as possible. they do help me a lot on these big correction jobs. i have them do the prepping & i work side by side with one of them so this way theres 2 sets of eyes checking each panel as im buffing. ill have him follow a few panels behind me with a damp microfiber towel as he inspects the paint a second time under the halogen light after ive already done so. as the panel is being double checked, im already working out the swirls & other defects on the next panel ahead.
we go around the car once during rotary machine compound then do it again for the rotary machine polishing.
after were done polishing the car well remove all masking tape & hose the car off to loosen any dust from the compounding & polishing. then the car gets brought back inside & wiped down with an absorber to remove about 85% of the water. a leaf blower is then walked around the car & the water drips are collected with another absorber towel. me & my guy will go over the car one more time with the halogen light, one holds the small 700 watt unit in his hand while the other guy is looking into the paint to see if weve removed all of the defects 100% or not. if there are still some swirls & scratches left over ill tape the car again & give the car one last round of machine polishing till each panel is completely glassed out to perfection & ready for a coat of sealant then wax.
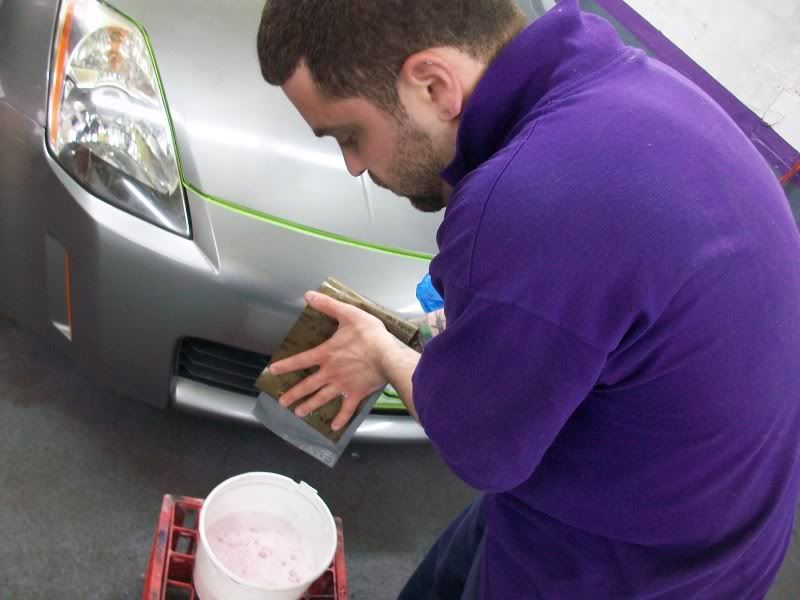
i wasn't going to put together a writeup but this one has a few surprises. the hood has been resprayed by a body shop. on the passenger half the clear coat seems to have faded a bit. i hope i can pull everything out without going past the clear coat & burning right through. im going to try to save the hood by wetsanding it with 2000 grit. to make the sandpaper soft ill rub 2 pieces of 2000 grit together then soak them in a cold bucket of water with a few drops of soap for lubrication between the paper & the clear coat. if i can save this hood ill save the customer a lot of money that he wouldve spent on the respray. at first i didnt want to wetsand the hood but the customer agreed if i burnt through i wouldnt have to pay for the respray. i over heard his friend who owns a body shop say something like "i dont think he can do it or hes scared to do it but it can be wetsanded". i cant stand when someone doubts me. i didnt want to risk it just in case i did burn through i wouldve ended up doing this entire detail for free then laying out the $ to fix the hood with a respray. thanks to the customers friend he will cover repainting the hood if i should burn through. well see what happens. this should be a fun one.
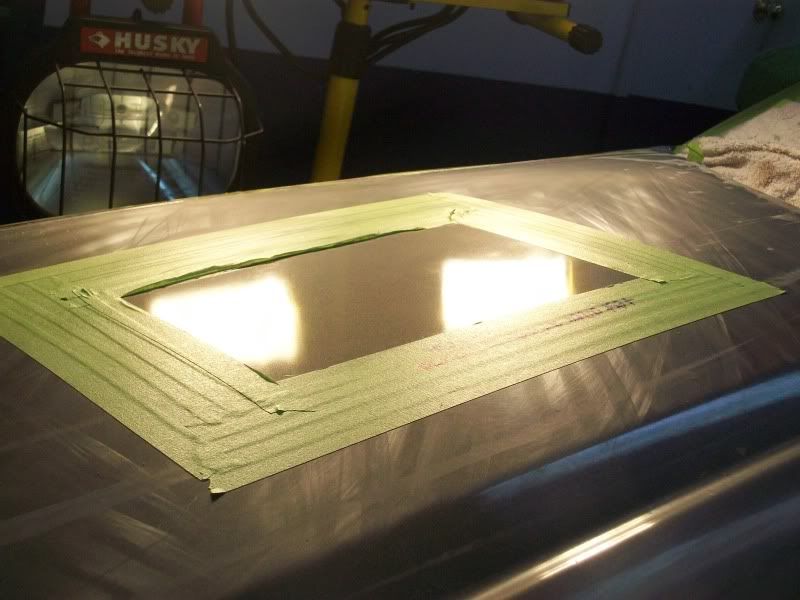
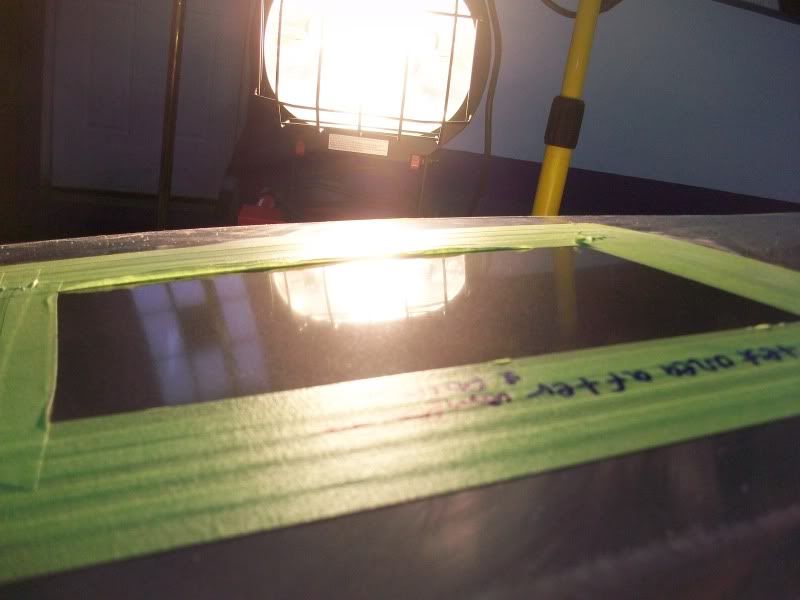
here are the pictures as of 10:47pm. its getting late & i must leave the shop but im addicted to this little place, i just cant seem to know when to end my day. i hope i can stay awake at the movie theatres tomorrow, if not my girlfiend might be a little mad. im a little nervous because she just signed up for a kick boxing class at her gym =/ hmmm...
1

2

3

4

5

6

7

heres a few pics of the car after 3 washes, 3 times clay barring & all prep tapping finished. this car is ready to be sectioned off for a handfull of 50/50 shots. ill try to let the pics do the talking to save some time typing every little step up. the pics will take you from start to finish. i hope you all enjoy reading the writeup when im finished with the car. this will be a big one & it has to be done by monday to make room for another big correction job. on Monday i have another 2 dr black g35 that the customer said has bad swirls & hasnt been detailed in 2 years, he thinks. on wed i have a white c63 amg coming in for a medium correction job.
i try to concentrate on the big jobs that require a lot of heavy machine work since neither of my 2 guys know how to buff & i dont plan to teach them either. my job is to book them as much work as they can handle to keep the shop as busy as possible. they do help me a lot on these big correction jobs. i have them do the prepping & i work side by side with one of them so this way theres 2 sets of eyes checking each panel as im buffing. ill have him follow a few panels behind me with a damp microfiber towel as he inspects the paint a second time under the halogen light after ive already done so. as the panel is being double checked, im already working out the swirls & other defects on the next panel ahead.
we go around the car once during rotary machine compound then do it again for the rotary machine polishing.
after were done polishing the car well remove all masking tape & hose the car off to loosen any dust from the compounding & polishing. then the car gets brought back inside & wiped down with an absorber to remove about 85% of the water. a leaf blower is then walked around the car & the water drips are collected with another absorber towel. me & my guy will go over the car one more time with the halogen light, one holds the small 700 watt unit in his hand while the other guy is looking into the paint to see if weve removed all of the defects 100% or not. if there are still some swirls & scratches left over ill tape the car again & give the car one last round of machine polishing till each panel is completely glassed out to perfection & ready for a coat of sealant then wax.
i wasn't going to put together a writeup but this one has a few surprises. the hood has been resprayed by a body shop. on the passenger half the clear coat seems to have faded a bit. i hope i can pull everything out without going past the clear coat & burning right through. im going to try to save the hood by wetsanding it with 2000 grit. to make the sandpaper soft ill rub 2 pieces of 2000 grit together then soak them in a cold bucket of water with a few drops of soap for lubrication between the paper & the clear coat. if i can save this hood ill save the customer a lot of money that he wouldve spent on the respray. at first i didnt want to wetsand the hood but the customer agreed if i burnt through i wouldnt have to pay for the respray. i over heard his friend who owns a body shop say something like "i dont think he can do it or hes scared to do it but it can be wetsanded". i cant stand when someone doubts me. i didnt want to risk it just in case i did burn through i wouldve ended up doing this entire detail for free then laying out the $ to fix the hood with a respray. thanks to the customers friend he will cover repainting the hood if i should burn through. well see what happens. this should be a fun one.
here are the pictures as of 10:47pm. its getting late & i must leave the shop but im addicted to this little place, i just cant seem to know when to end my day. i hope i can stay awake at the movie theatres tomorrow, if not my girlfiend might be a little mad. im a little nervous because she just signed up for a kick boxing class at her gym =/ hmmm...
1
2
3
4
5
6
7